
If you have received an email from us regarding your current Idera Backup Enterprise service please follow the steps in this article in order to acquire a new backup key. If you have not received a direct link to this tutorial these steps are not necessary to setup the Idera Backup Enterprise service.
Contents
1. Reacquiring the new backup key
2. Windows
3. Linux
4. Creating a disk safe and policy
Reacquiring the new backup key
In this article we assume that you have a working version of Idera Backup Enterprise installed. If you are unsure if this is installed on your system, feel free to contact our support department before proceeding. Or use the official installation guide.
First login to the backup manager web interface here. Then follow the instruction based on if you are on Linux or Windows below.
Windows
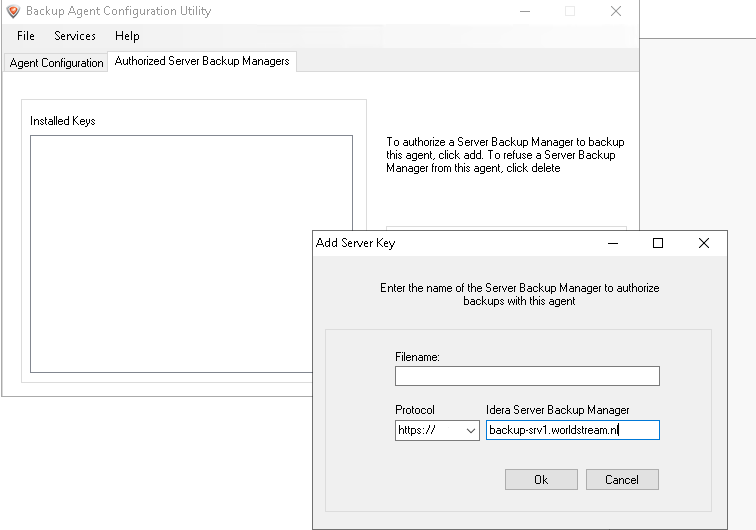
If you use a Windows based operating system start up the Backup Agent Configuration Utility. Proceed to delete the currently installed key and setup a new one. You can use the below screenshot as an example. At Filename type your static IP-address. Use the https:// protocol and enter backup-srv1.worldstream.nl at Idera Server Backup Manager.
Linux
If you use a recent Linux distribution login to the machine and use the following command to acquire the new key:
serverbackup-setup --get-key https://backup-srv1.worldstream.nl
/etc/init.d/cdp-server restart
If you have (CentOS version 6.x or older) use the following commands:
r1soft-setup --get-key https://backup-srv1.worldstream.nl
/etc/init.d/cdp-agent stop && /etc/init.d/cdp-agent start
If both options will not retrieve the new key go to /usr/bin/ and do the following:
./serverbackup-setup -–get-key https://backup-srv1.worldstream.nl
Creating a disk safe and policy
Once the new key is acquired go to ‘Protected Machines’ and test the Agent Connection as highlighted below. Afterwards go to Settings, which is found at the left side of the web interface. From there we can create a Disk Safe and Policy.

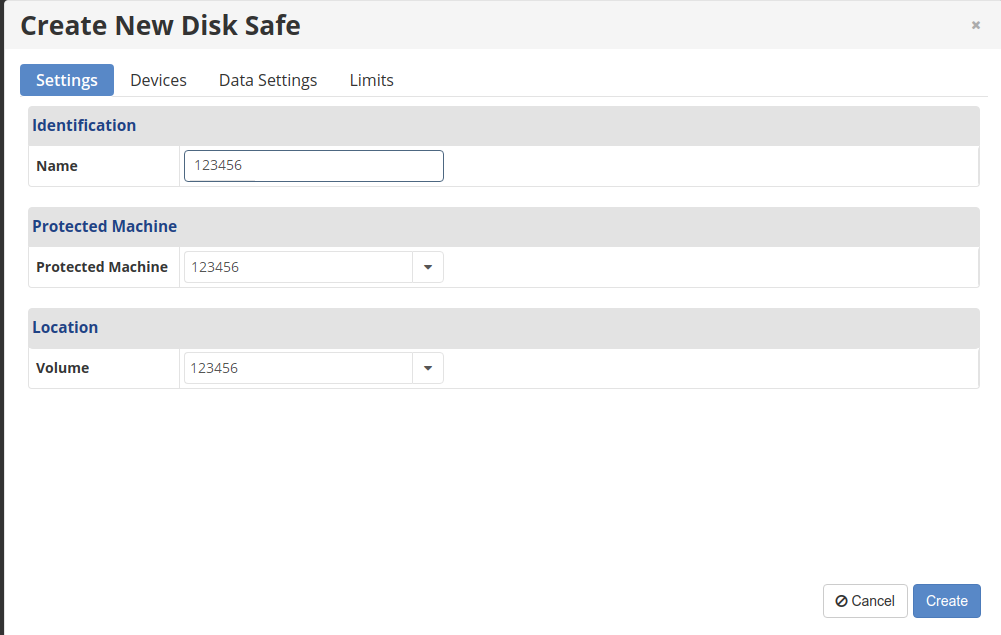
Once you have ensured the connection to the agent is correct, we will create a new Disk safe. Enter the server ID as the name of the Disk Safe and choose the currently Protected Machine and Volume. In our example this is server 123456.
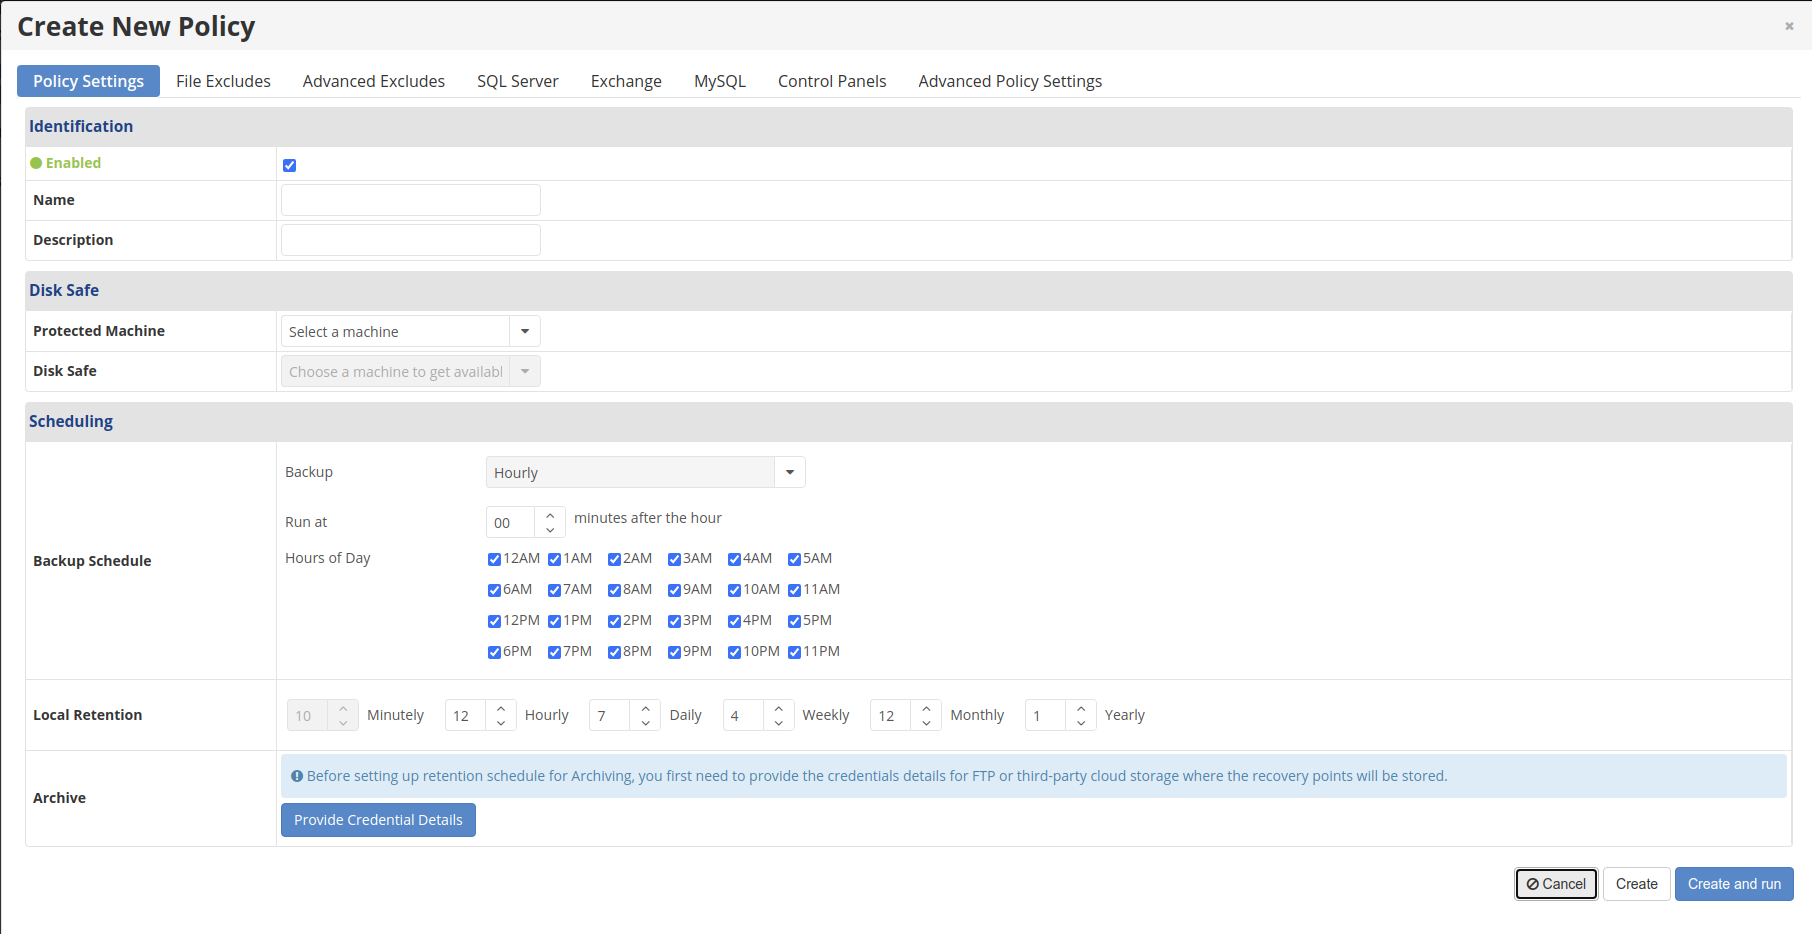
When the disk safe is created we can create a new policy. Choose the interval, name, and frequency of the backup to what you prefer. Once completed do a complete backup as test.
If you notice that the backup does not start, or differs from these instructions please contact us. We are also available if you need assistance in setting up the Disk Safe and Policy.
If you have any questions on this article or how to setup your backup manager feel free to email us here.
Learn more about our services: worldstream.com